This is the fifth and last episode of my water cooling build which shows the final product. Additionally, I want to compare performance between my new and my old setup and talk about some final thoughts. If you didn't read the other parts of this buildlog, I highly recommend doing so.
I really don't want to make you wait any longer. So the first thing I want to show you is what the build looks like:
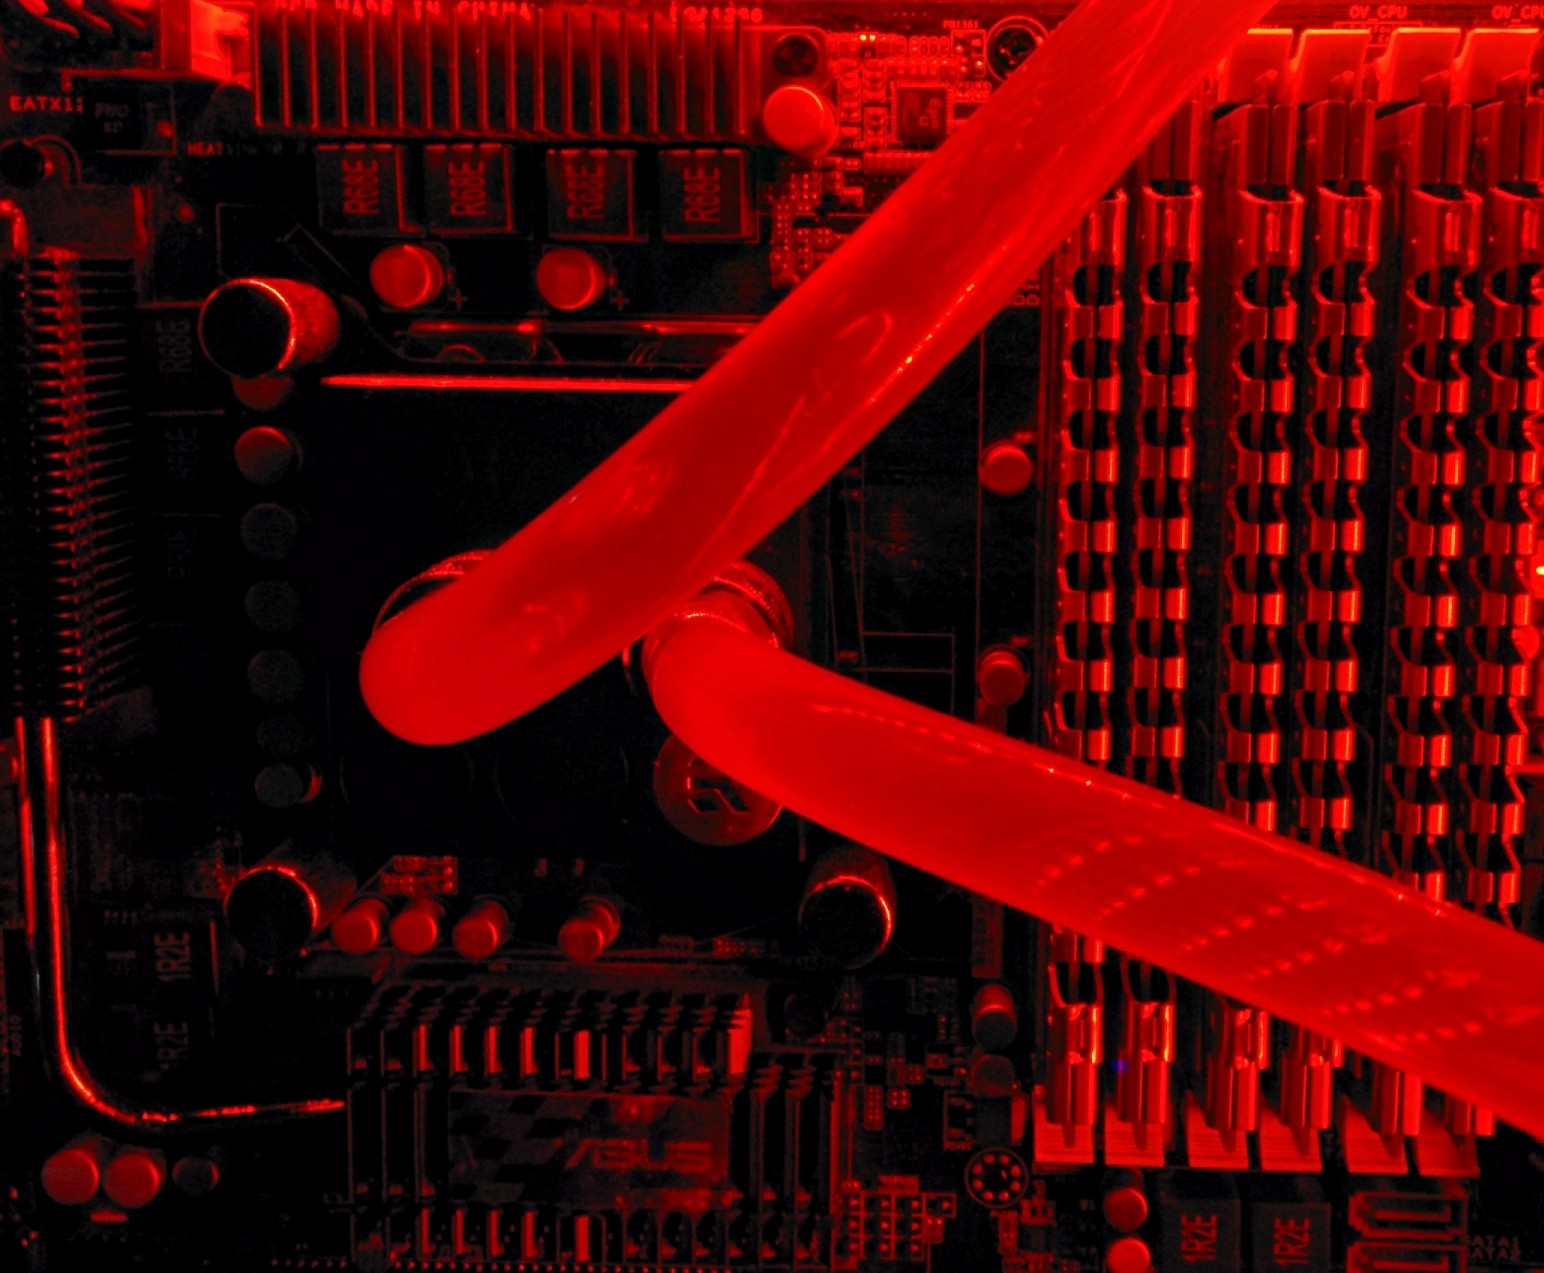
I am very happy with the final look on my desk (except the fact that my desk needs a cleanup :-P). But the build really adds a nice touch to everything. Let's take a look at what that thing looks like in the dark.
There is only little to fix up to make it look perfect.
I really like the outcome of the whole look. Unfortunately, there are still some details which I want to tackle in the future.
Some of the initially planned things unfortunately could not be finished
Besides the nice look, the system now also should perform better than before. Due to some complications I have no temperature data to compare real usage situations. One thing challenging my CPU and GPU before was playing some Battlefield 3:
As you can see, the GPU and CPU are having a really hard time. Here is the direct comparision between temps before and after the water cooling:
| Air cooled Idle | Water cooled Idle | |
|---|---|---|
| Avg. Core Temp | 52°C | 40°C |
| Avg. GPU Temp | 55°C | 42°C |
| Avg. System Temp | 40°C | 40°C |
Idle temps do not seem to differ a lot. But it is important to take into account, that the room temperature was about 5-8°C higher when I was testing the water cooling setup. Looking at some prime95 small fft tests there is a remarkable difference:
| Air cooled prime95 | Water cooled prime95 | |
|---|---|---|
| Avg. Core Temp | > 90°C | 59°C |
| Avg. GPU Temp | 55°C | 42°C |
| Avg. System Temp | 50°C | 41°C |
As you can see, the CPU was quite unstable running a long session of prime95. After some hours it eventually throttled down to keep the temperature from rising to Tj-Max. Interestingly enough to notice that the higher temperature of the CPU does not influence the temperature of the GPU or System noticeable as opposing to the air cooling. The high air cooling temperature heated up the system around 10°C. The GPU however did not heat up because it had a decent air cooler which turned up to compensate the heat.
Enough of the theoretical blah blah ... Let's take a look at a real usage example: Battlefield 3...
| Air cooled BF3 | Water cooled BF3 | |
|---|---|---|
| Avg. Core Temp | 77°C | 52°C |
| Avg. GPU Temp | 81°C | 65°C |
| Avg. System Temp | 45°C | 41°C |
The water cooling really brings it on here. About 20°C cooler than the air cooled setup. This does not only conserve CPU and GPU life but also give us some nice margin for overclocking!
Let's see what we can get out of the old i7 920 CPU. To unmistakably clarify where the limits are we choose some nice high values for the CPU clock and torture test it with prime95. Let it burn :-)
As you may see, I have choosen a clock of 4Ghz while keeping the voltage at a reasonable low value. The above image surprisingly strong remembers me of the stock air cooled run ... 90°C avg. core temp, 50°C GPU temp and slightly raised system temp clearly show that this is the limit of what we can reach with the water cooling setup. If we would not want a temperature improvement and only go for performance we could leave it at that and would almost have raised the performance of the CPU by 150%!
Due to the fact that I want to have an as silent and healthy as possible system with a little boost for the CPU, I also tried the following clock tweak:
This time I remembered that a PC is able to take clean screenshots ... looking much better than taking photos of the screen with a mobile phone. Also the temperatures are looking way better with 3.6 GHz! With an average of 66°C the cores stay reasonable cool. Also the GPU and System is not influenced that much by the high CPU temperature.
I think we have a winner!
After all that costly shopping and time consuming building and testing ... did the upgrade pay off?!
Let's take a look at the pros and cons:
| Pro | Contra |
|---|---|
| Cooler system | Expensive parts |
| Quieter system | Risk of water damage |
| More power | Lower mobility (weight and sensibility) |
| Work-intensive building | |
| Almost maintenance free (but higher effort to upgrade parts) | |
For me the pros clearly annihilate all of the cons. This is why I think that the cons are not that relevant:
My conclusion to this upgrade stays the same regardless of any cons. The gains are that great (especially for my system), so that it definitely pays off for me.


