Today I want to show you my first water cooling PC build. It's not a hardware upgrade. I just switched cases and cooling method with this build. I own my computer for a while now and I am still pretty happy with the performance. The weak-points of my setup could be compensated with a little overclocking here and there if needed.
This is the first episode which features why and how I changed from air- to water-cooling.
 Old housing

 Mainboard with CPU & RAM

Before, I had some kind of hybrid-cooled PC utilizing a complex pattern of silent-fans to maintain reasonable CPU/GPU temperatures. Additionally, the CPU was cooled by a Corsair H60 to allow a little more silent operation. Due to the fact that I used a mid-tower case this setup was pretty hard to maintain. Especially dust was a big problem.
In such a case (pun intended) all the fans are depending on each other's performance to keep up the airflow needed to stay cool & quiet. If one of the fans collects enough dust, this system eventually will collapse. At first temps start to raise and after a while the system will try to compensate this and turn up the fans to provide more airflow. I ended up cleaning the whole system every 3-6 months and repairing/replacing fans a lot.
I could have used a big tower to reduce these problems in the first place but I prefer mid-tower cases to maintain transportability and flexibility, and to have a leightweight look.
To achieve this, I decided what components need cooling:
From a water-cooling perspective such a setup needs a moderate pump and at least a 3x120 radiator
If you already have a case and want to keep that, you have no alternative but to buy cooling-equipment fitting your case or modding the case.
My old case was an AeroCool Strike-X Advance.
I was going to switch (in) this case (pun intended) what makes it somewhat hard to find a good start. So I started to select a new case first to defeat all issues related to the old case:
Due to the fact that the Strike-X is really small and not silenced at all (thin material and mesh everywhere) I would need a case whith less mesh and more insulation. To get the most out of a new case, I looked in all directions to find what best suits my needs. At first I ended up fancying with cases which have seperate areas to place radiators into. All other cases always had tradeoffs when it comes to water cooling. But I didnt want to spend too much money on huge towers. It was really hard to find something right but the following cases have been in my short-list:
After searching and searching and searching I "accidentally" found the following case:
When I saw this beauty I immediately wanted to use it for the build. So I decided to go for the black-red version:
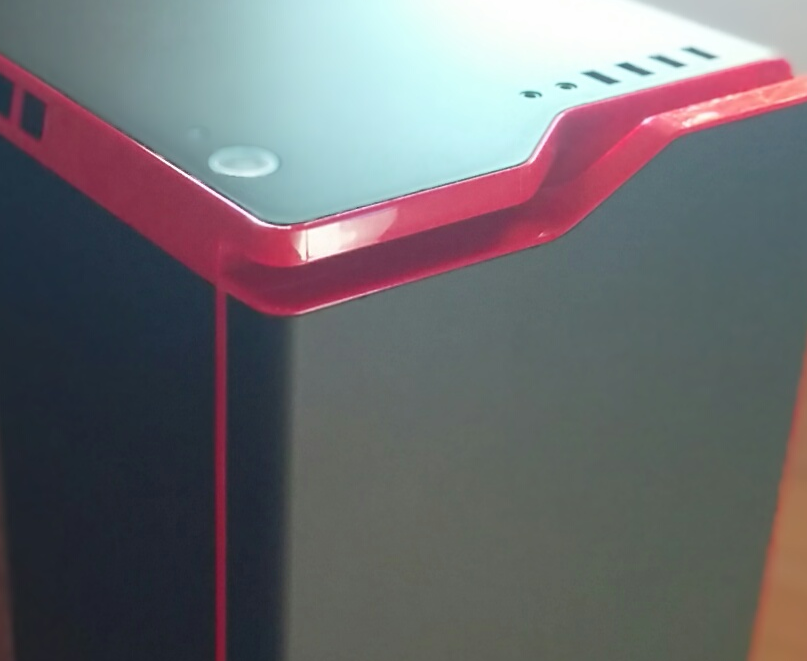
 Case Overview

 Left side

 Right front

 Interface closeup

I reviewed my goals and tried to find a way to achieve them with the H440:
Finally, I could create a list of all needed parts for my first build:
To visualize the masterplan, I created the following beautifully designed and handcrafted masterpieces:
 The Plan - Front

 The Plan - Back

The first image shows the complete setup:
The second image just shows the clearance for a 360 rad in the front. I measured this by painting the HDD (orange) first, then converting its real width to pixels and finally converting the real width of the pixels left to it (blue range) to real millimeters.
The second episode of this buildlog features the preparation of hardware and waterblock installation with lots of images and details about the whole process.


