This is the third episode of my water cooling build which shows how to flush a radiator before usage. This is an important part for a water cooling build (especially if the radiator is soldered). It prevents fabrication remains from entering the loop and polluting your waterblocks. If you didn't read the first or second part of this buildlog, I highly recommend doing so.
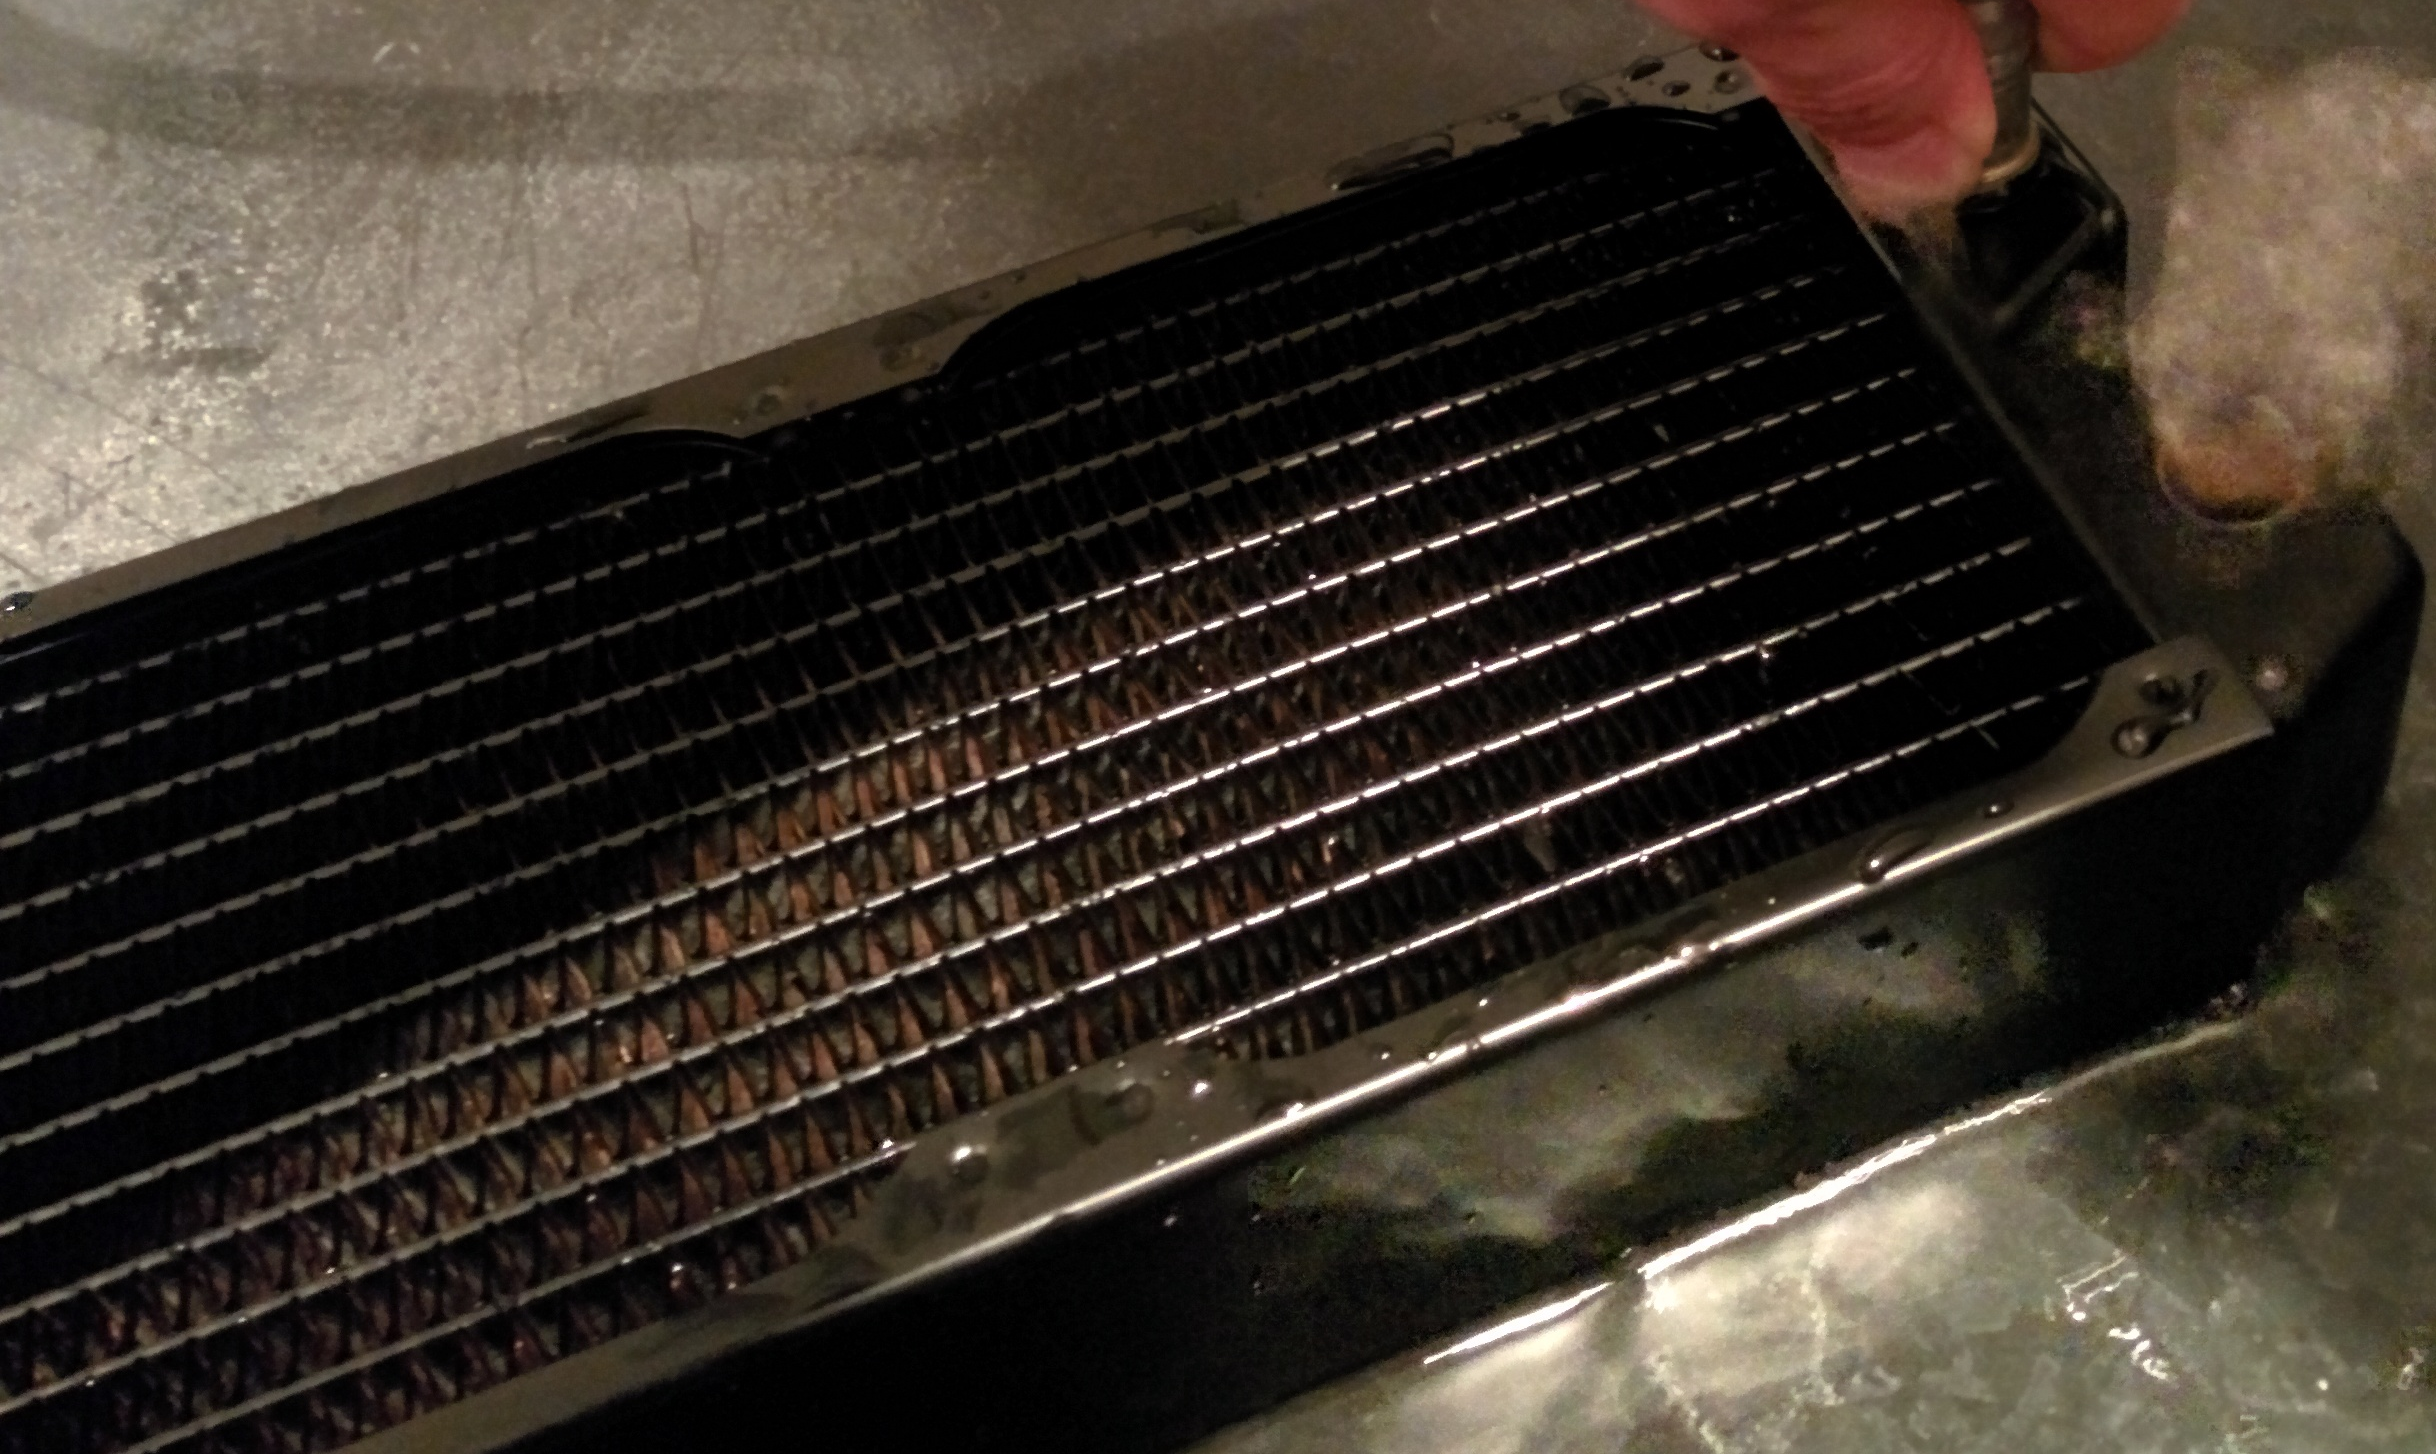
A radiator consists of a framing containing pipes which reach from one end to the other connecting chambers for inlet, outlet and redirection. Attached to the pipes and framing are fins (which are not important for the cleaning).
The typical radiator has the pipes soldered into holes in the chambers at its ends. This, and the way the chambers and pipes themselves are manufactured, leads to the following residue:
To deal with this pesky contamination we want to follow the steps below for an ultra clean result:
Let's stop wasting time and start cleaning that thing.
The best way to remove loose metal chips and dirt is to use cleaned or distilled hot water and physical force (shaking). It's important to use cleaned water because tap/bottled water may contain lime or other minerals which may coagulate when heated. This could pollute the radiator and even favor corrosion over time.
Just take an electric kettle, a bowl, and some water. You may want to use a thermometer to hit the ideal temp on the water. We don't want it to boil. It should be just around 80°C to start with.
Look at all that stuff we got out of the rad ... Imagine this in your CPU-block!
To degrease the radiator and clean it thoroughly, I tend to use hardcore cleaners. One choice you always should consider is Cillit Bang. It comes in two flavours to provide all the cleaning power you need.
Note: I don't get paid by ... whomever made this stuff. I just use it for many cleaning tasks in my house and it's really recommendable.
We start off with the green one which is a fat solvent. This helps us to remove all remnants of the grease and soldering flux used during manufacturing of the radiator.
 Degreasing Results

 Flushing in the Shower

The blueish color is absolutely normal. It indicates that the cleaning agent has solved the grease and flux. :-)
Now we will use the orange Cillit Bang. It's a highly aggressive dirt solvent which solves a lot of stuff it has enough contact-time with. The procedure is almost the same as with the degreasing:
 Deep Cleaning Results

 Flushing again

This time the color of the substance should be a much lighter, almost turquoise, blue. This is ideal. It shows that there is not much to solve and what was there is gone now :-)
For the final cleanup we have to clean the radiator with hot cleaned water again. It's the same procedure as the first step. This time we use more flushes, though.
You can see the results of the first final flush above. There are still some particles in the water and it still has some slight coloring. You will want to repeat the process of final cleaning until the water is absolutely clean (It took me 3-4 times until it was really clean). Don't hesitate to double check after the first clean flush.
Voilà, you may now use your radiator without contaminating your watercooling loop!
Now that everything is ready and prepared, we can finally put it all together in the new PC case. The next episode will show the installation of all parts with some nice pictures and additional tips for a successful custom loop water cooling.


 Final Results")


