

This is the second episode of my water cooling build which features the preparation of components. If you didn't read the first part of this buildlog, I highly recommend doing so.
Due to the fact that I didn't build a completely new PC I had to take all the hardware out of my old case. If you don't buy new components you really will want to do this at first. This is because you have to clean up the hardware and remove any dust or dirt (yes dirt!) from it. Depending on your hardware and the amount of dust, this may take up to an hour.
But before we actually begin with the removal of the hardware, I want to introduce you to my best friend when it comes to working with electronics.
This is a magnetic project mat from iFixit. I really love this thing because it holds screws and other metallic items in place and you can write or draw on it using a removable marker. Before I had this baby I always had trouble with left over Screws after assembly. 'Nuf said.
Let's tear apart our computer!
All that stuff on the right needs to come out of my old PC-case. On this picture you can see how small the Strike-X case is. Also there is no real cable-management so I had to route the cables on top and freely visible around the case. For my new build I'm going to reuse the following components:
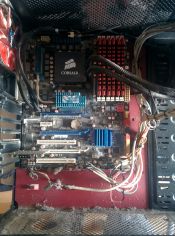 Hardware Removal 02
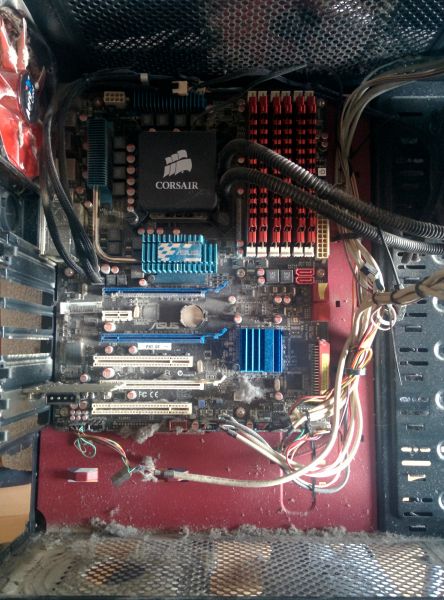
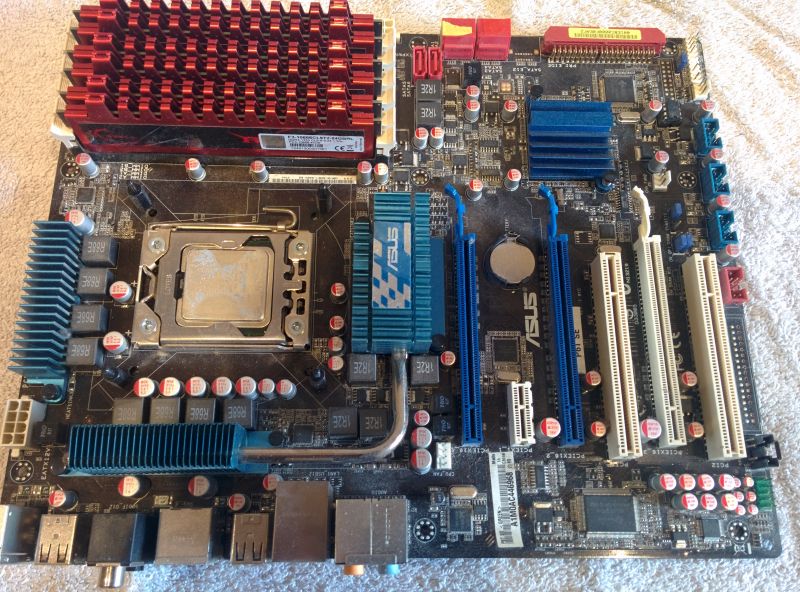
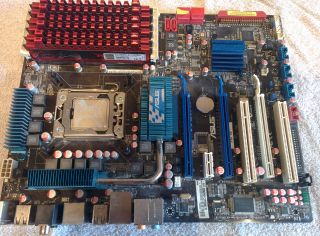 Mainboard with CPU & RAM
After removing the front of the case, the HDD & SSDs, the PSU and the GPU, you can see how dusty everything is. All this needs to be cleaned. Best way to do that is to blow away the rough and loose dust. After that you may carefully brush everything with a (not too small) painting brush. This will remove the any remnants of dust and smudges from the board. I was lucky that the CPU and RAM were almost clear of any stain, so I didn't have to remove them to clean them up.
This is the easyest part of water cooling installation. There are 4-5 simple steps for this:
I already removed the cooler before unmounting the mainboard from my old case. If you use a closed loop CPU cooler like the Corsair H60, it's the easiest way to remove the cooler before so you don't have to fight the tension of the tubing. Also, removing the board with installed cooler is somewhat risky because the radiator of the H60 could damage the board if it falls and flies around attached to the tubing.
To remove the remaining TIM (Thermal Interface Material) from the CPU, I prefer to use rubbing alcohol (Isopropyl alcohol). To minimize residues after cleaning I recommend to use alcohol with at least 70% concentration.
CPU almost looks like new after the clean-up. :-)
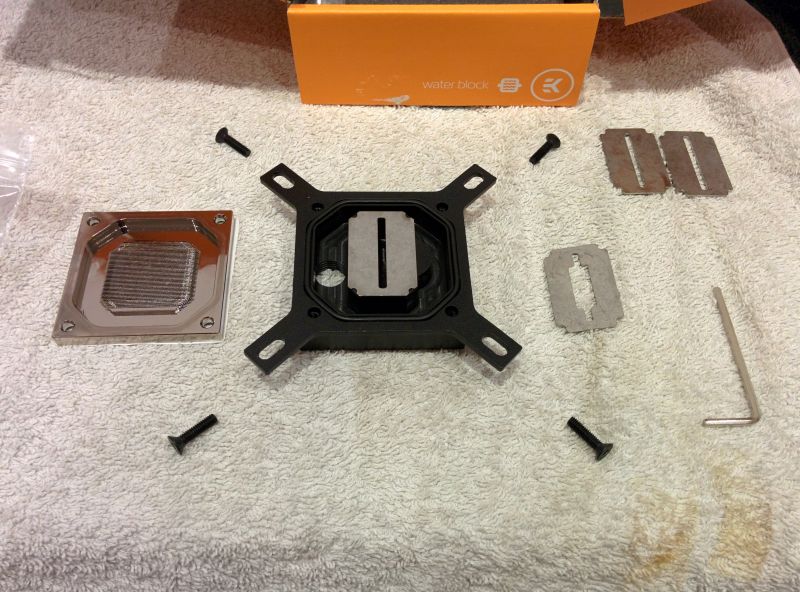
The EK-Supremacy comes with multiple socket adapters and jets to optimize water pressure for your CPU architecture. I just followed the manual here and replaced the "allround" jet with the LGA1366 recommended jet.
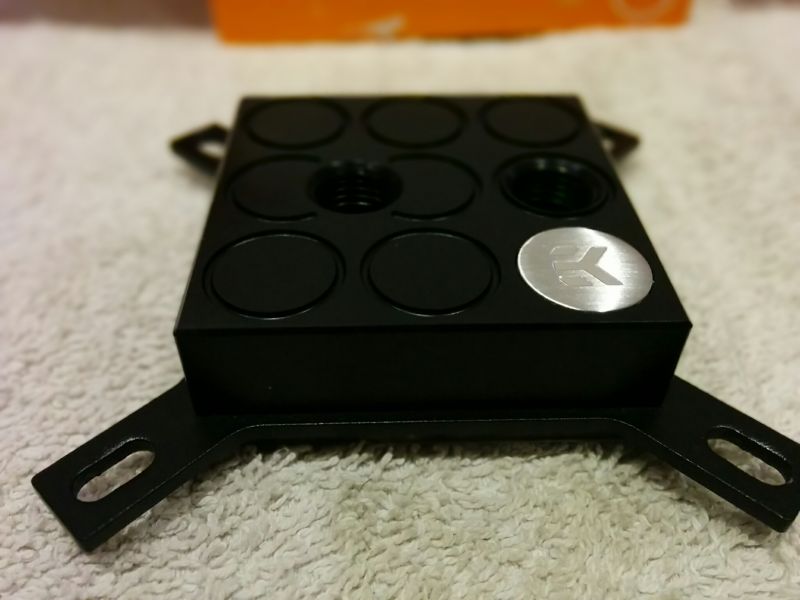
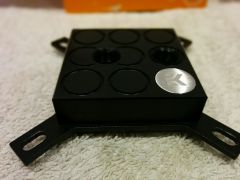 CPU-Block Overview
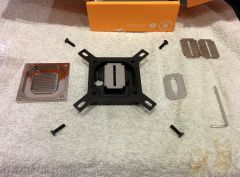 CPU-Block Changing Nozzle
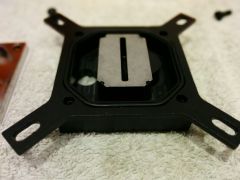 CPU-Block Top
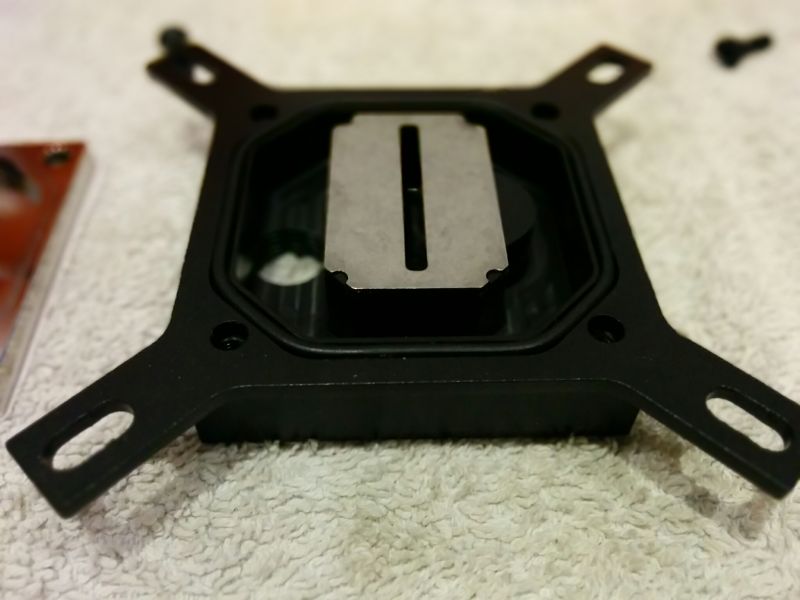
 CPU-Block Cooler
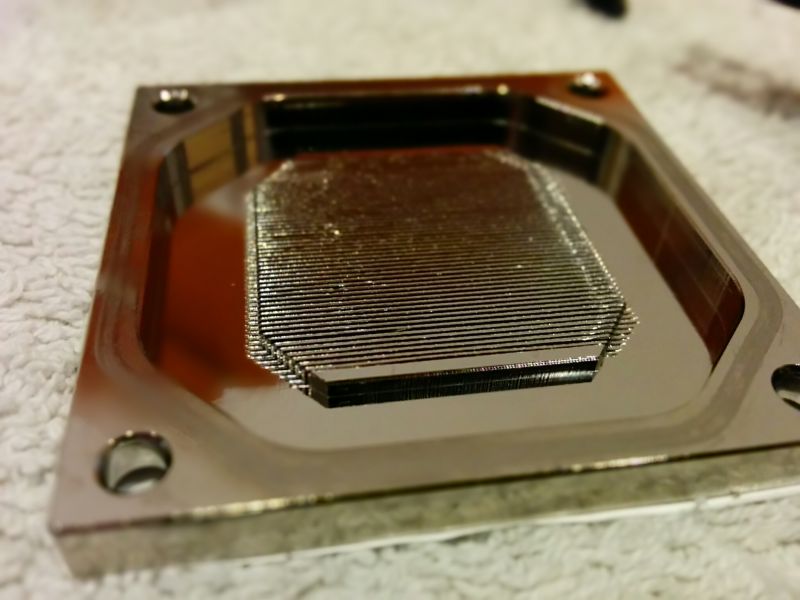
There is not much more to do to prepare a CPU-block. You may want to rinse it with hot distilled water, but mine was clean when I disassembled it.
Application of thermal compounds is one of the biggest fake sciences of the universe! There are many different philosophies of how to apply TIM correctly and what compound is best. I am not sure if the different compounds make any big differences. According to some tests, the different brands only make differences of some degree celsius. I prefer Gelid GC-extreme because it is pretty high-end and you can get it for a very fair price.
When it comes to the application method, I can hereby tell you one thing: It almost doesn't matter at all HOW you apply the thermal compound as long as you
The conclusion is that all the different methods to apply thermal compound only make a difference around (or even BELOW) 1 (ONE) degree celsius! If you are an enthusiast or using a product which REQUIRES a special application method you can go for it. If you are not absolutely sure what you do there are two easy and relatively safe ways to put TIM on your CPU.
 CPU Thermal Compound
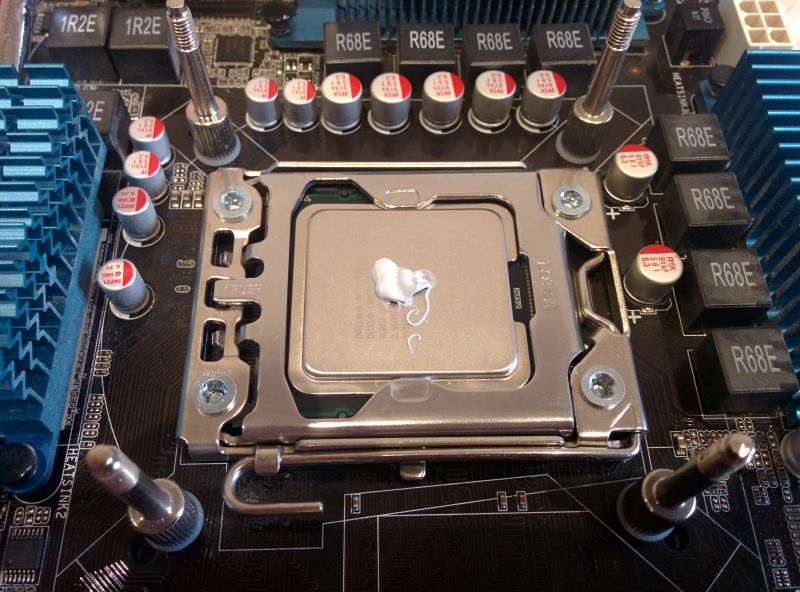 The line method: Just lay out a thin line in the length of 1/3 of the heatspreader centered on and parallel to the CPU Cores. Pressure of the cooler/waterblock will spread the TIM. This requires you to know where the cores are located but it gives you the optimal coverage of the heated area.
 As you can see from the picture on the right, I decided to go with the (malformed) grain of rice method. Any other method may perform worse or even risk overheating if you don't know what you do.
Here we go:
In my opinion, modification of the GPU is the hardest thing in water cooling. There are many steps involved and you need to be very careful with the installation of the parts to not flex or break the PCB. Other than that, the steps are pretty similar to the CPU modification.
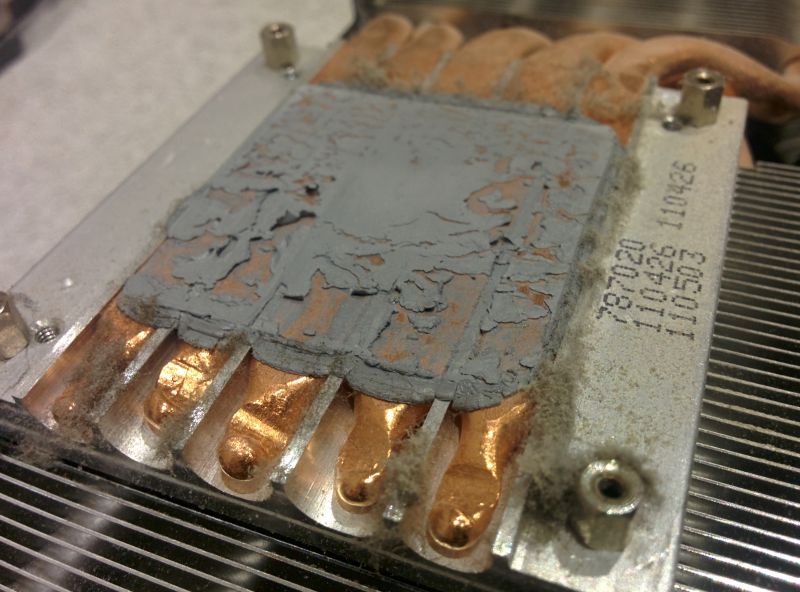
A VGA card can look really cool until you remove the stock cooler:
 GPU Stock Cooler Removal
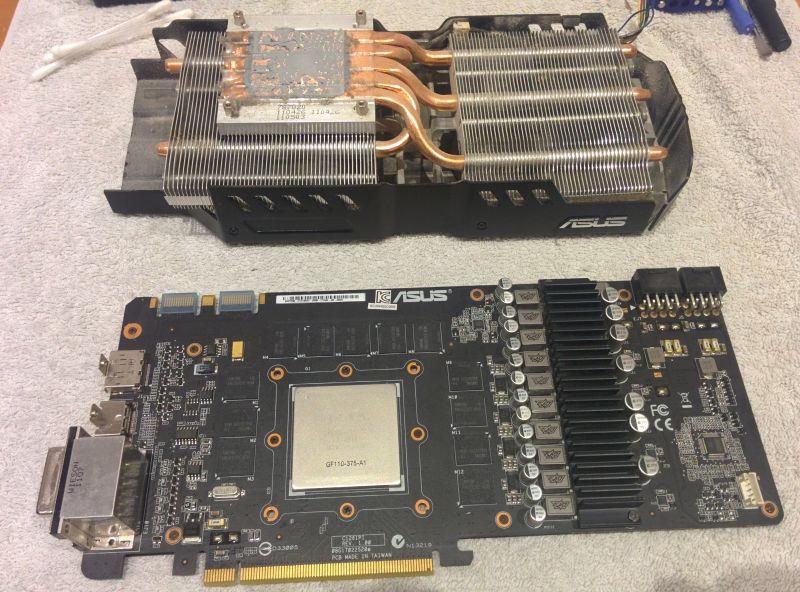
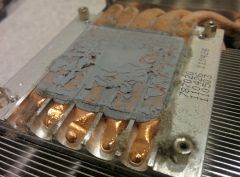 GPU Old Cooler
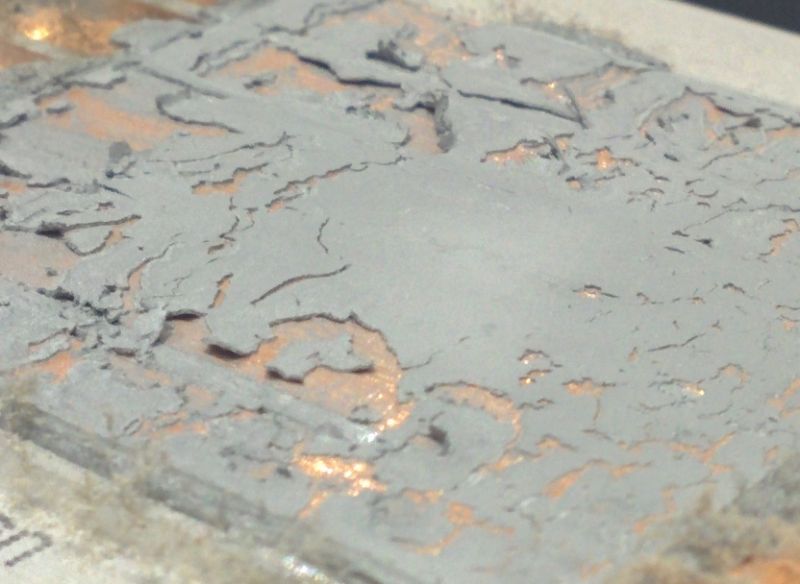
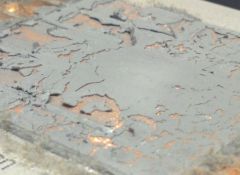 GPU Old Thermal Compound
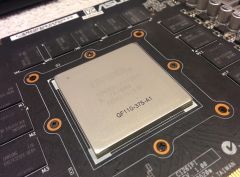 GPU Cleaned
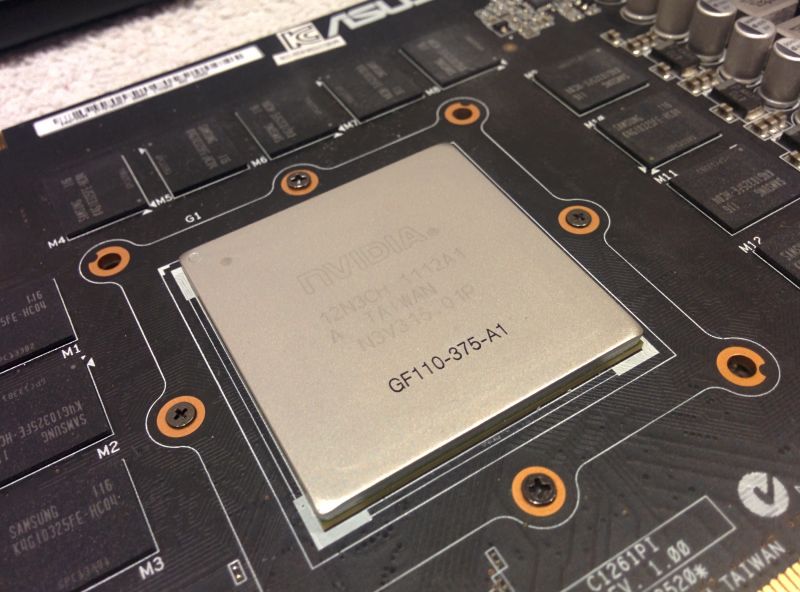
Please be aware that I already removed the thermal compound from the GPU heatspreader when I took these pictures. The cleaning is the same as for the CPU. Just use some isopropyl alcohol on a cloth or paper towel. The card itself can be brushed with a painting brush before to remove any dust.
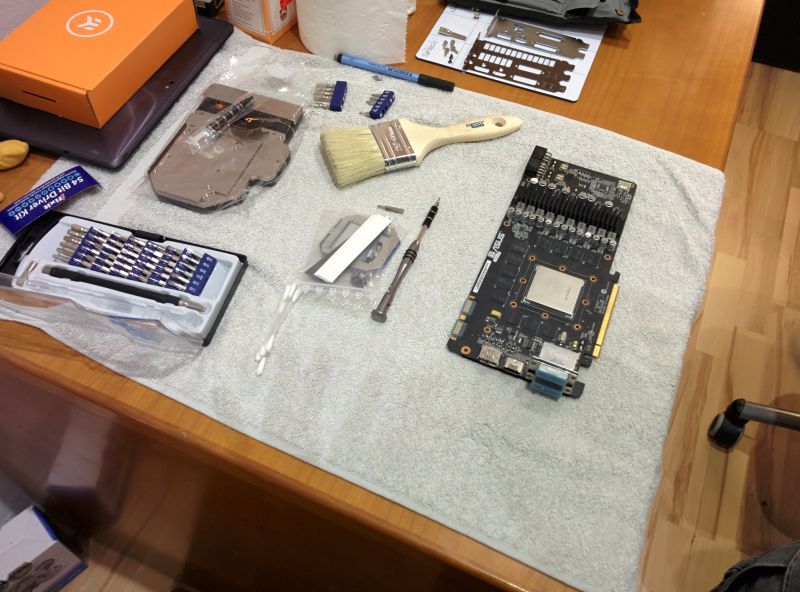
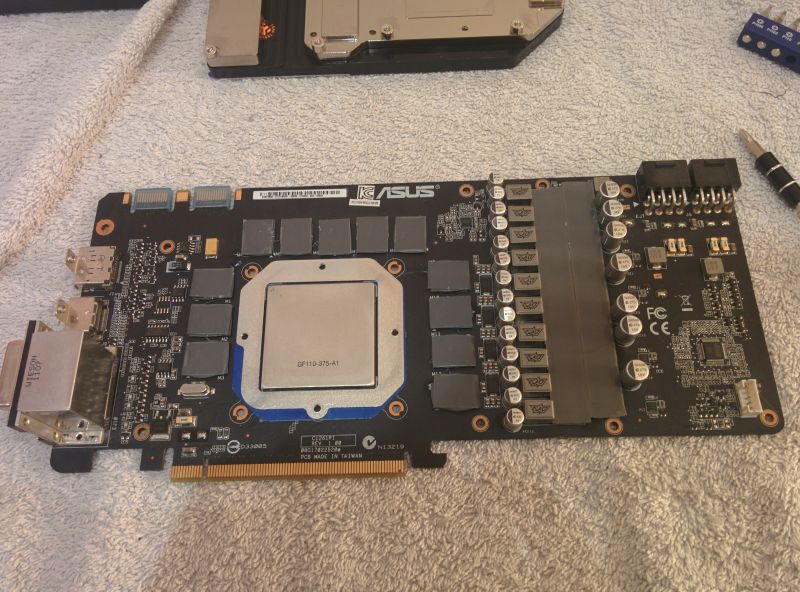
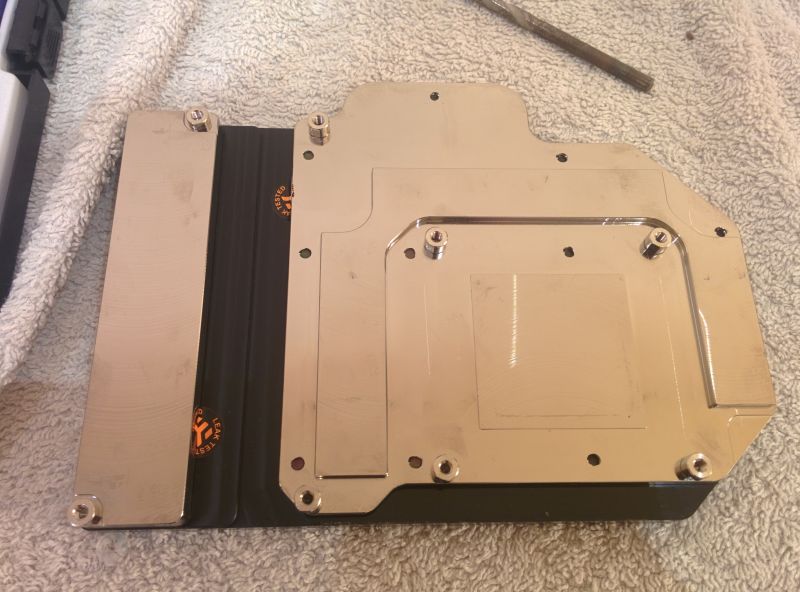
After that, card and block need to be prepared. In case of the EKWB-FC580 DCII you need to install a brace around the GPU to support the PCB for the heavy block and install some spacers on the block itself. And don't forget to install the thermal pads on RAM and phasers.
 GPU Workspace
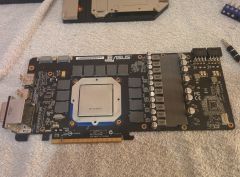 GPU Prepared for TIM and Block
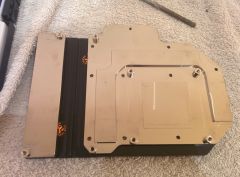 GPU Block Cleaned and Prepared
 GPU Block Finished
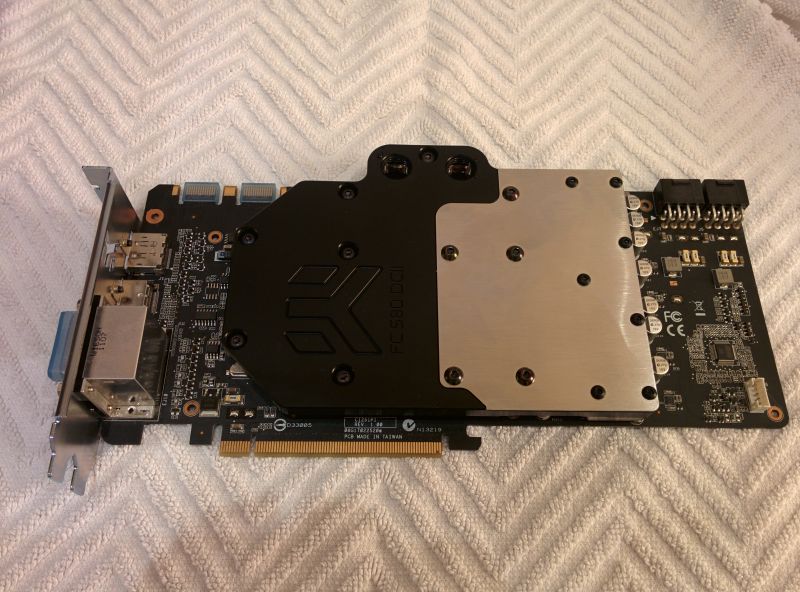
One word about application method of thermal compound: Normally I would have gone with the grain of rice method with the GPU too. But one thing about this GPU is that the DIE itself is a big chip in the middle of the heatspreader about 1/2 of the size of the headspreader itself. This makes it hard to apply a sufficient amount of thermal grease with this method. At first I was planning to use the "cross method", where you draw an X with two diagonal lines about 1/3 of the heatspreader diagonal. But then I read the manual and noticed that EK recommends the "star method" ... The star method is an X and a + from edge to edge and side to side.
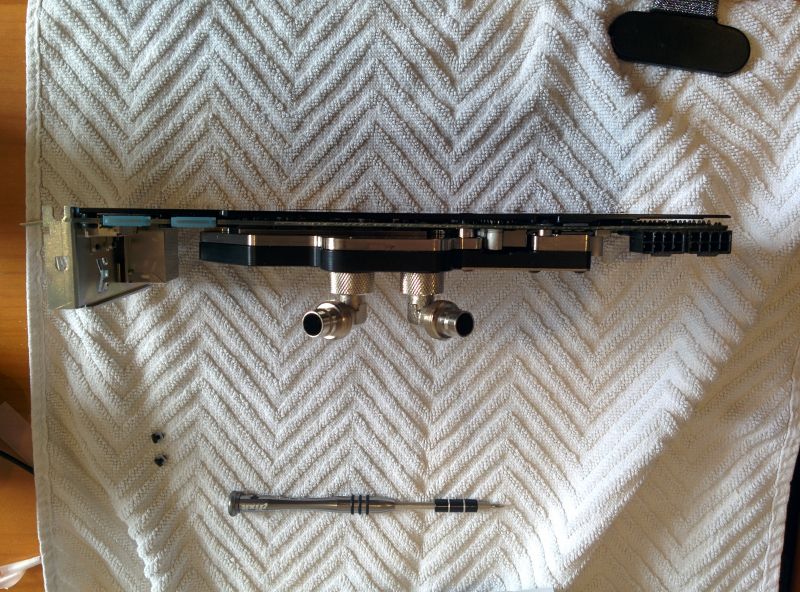
Installation of the block should be done really carefully. It's pretty heavy and overtightening the screws may flex or even break the PCB. Always take the card and double check it from the side to ensure its not flexed. If so, loosen some of the screws. They don't need much force at all!
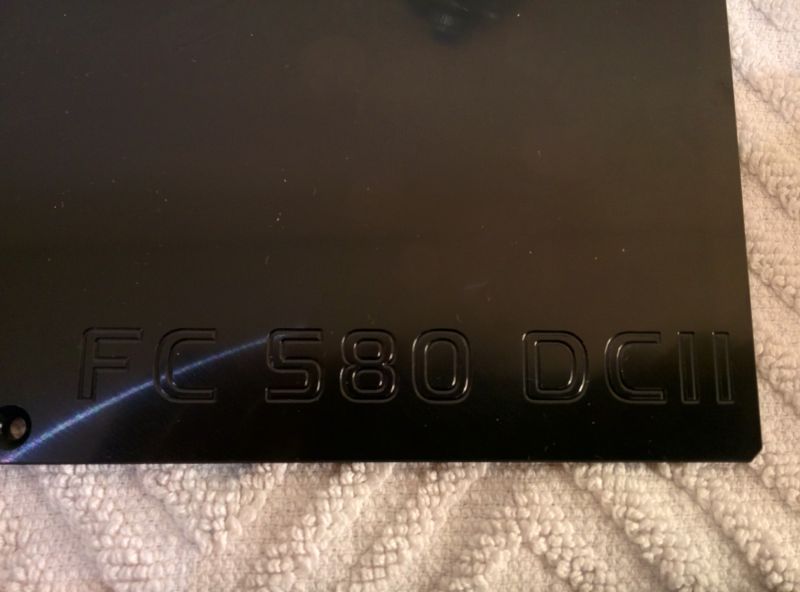
Last but not least it's recommended to install a backplate. The backplate looks nice and helps stabilizing the PCB. The waterblock is pretty heavy and my card was in use without backplate first. It startet to flex pretty soon under the weight of the waterfilled block.
 GPU Backplate
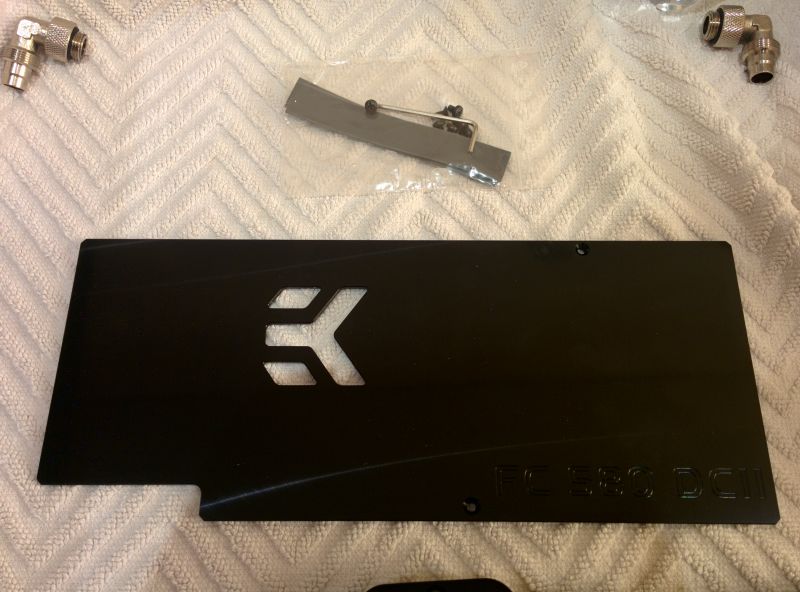
 GPU Backplate closeup
 GPU with Backplate
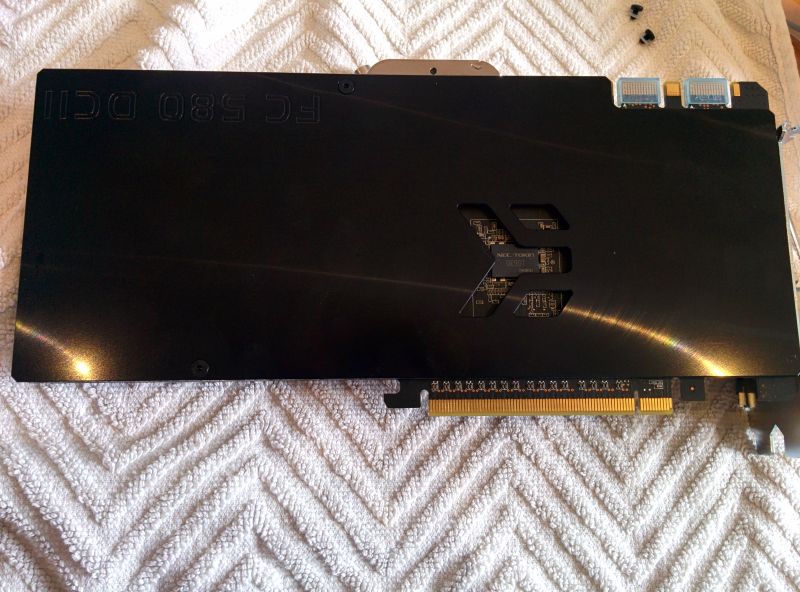
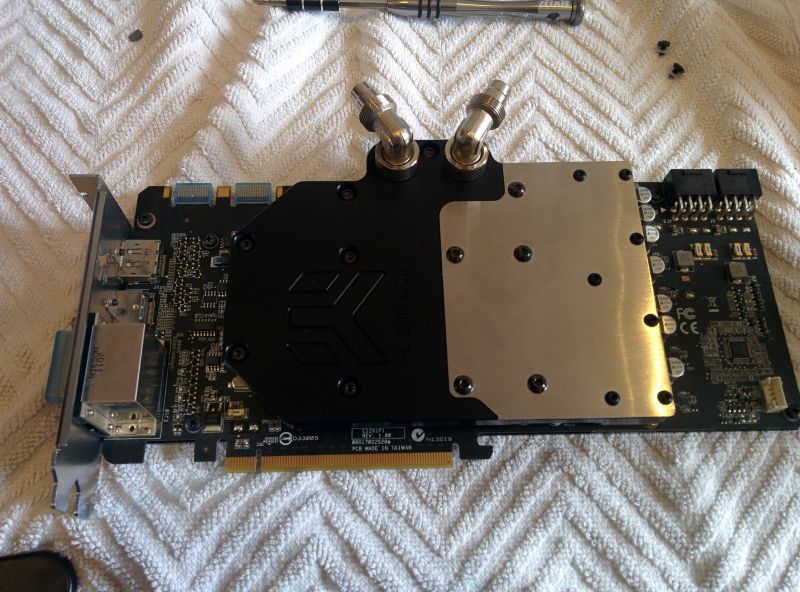
That's it! Enjoy the final product:
 GPU with Fittings
 GPU Finished
After messing with the PC hardware, there are other things to prepare. Especially the radiator needs some attention prior to use. This will be covered in the third episode of this buildlog. It specifically deals with the preparation of the radiator explaining how you can protect your water loop from angry metal chips and grease.